How To Use ATR
User Guide
Audio Transcription Recorder can work fully on-device, with optional cloud engines, or with a mix of both. This page walks through the main setup and day-to-day workflows.
Quick Start
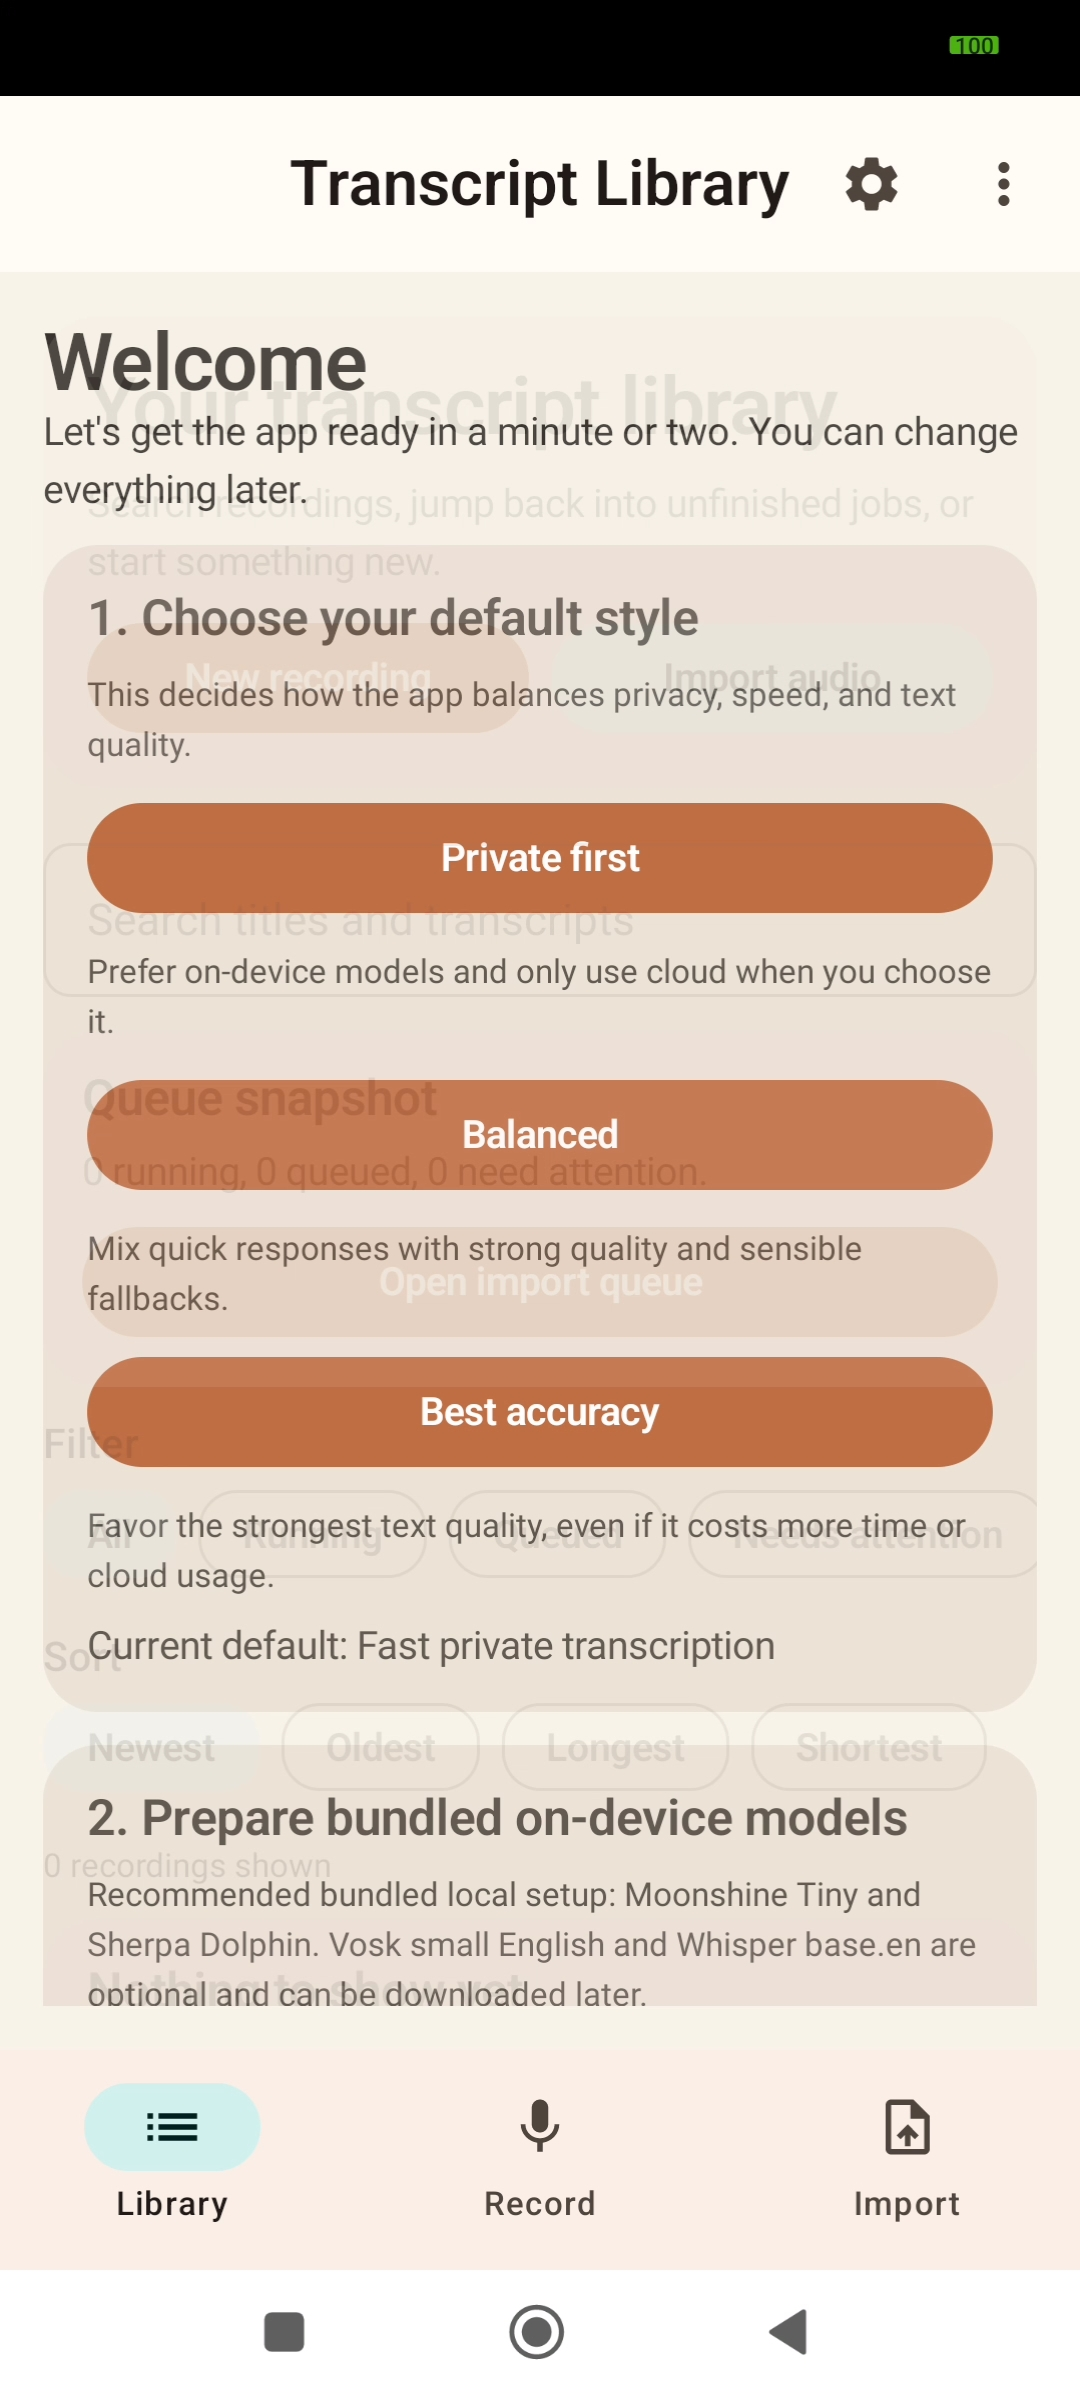
- Open the app and complete the welcome setup if this is your first launch.
- Choose your default style: Private first, Balanced, or Best accuracy.
- If offered, tap Install Offline Models to set up the included on-device models.
- Grant microphone permission only if you want to record inside the app. Importing files does not need microphone access.
- Start with Record for a live recording or Import for an existing audio file.
Record Audio
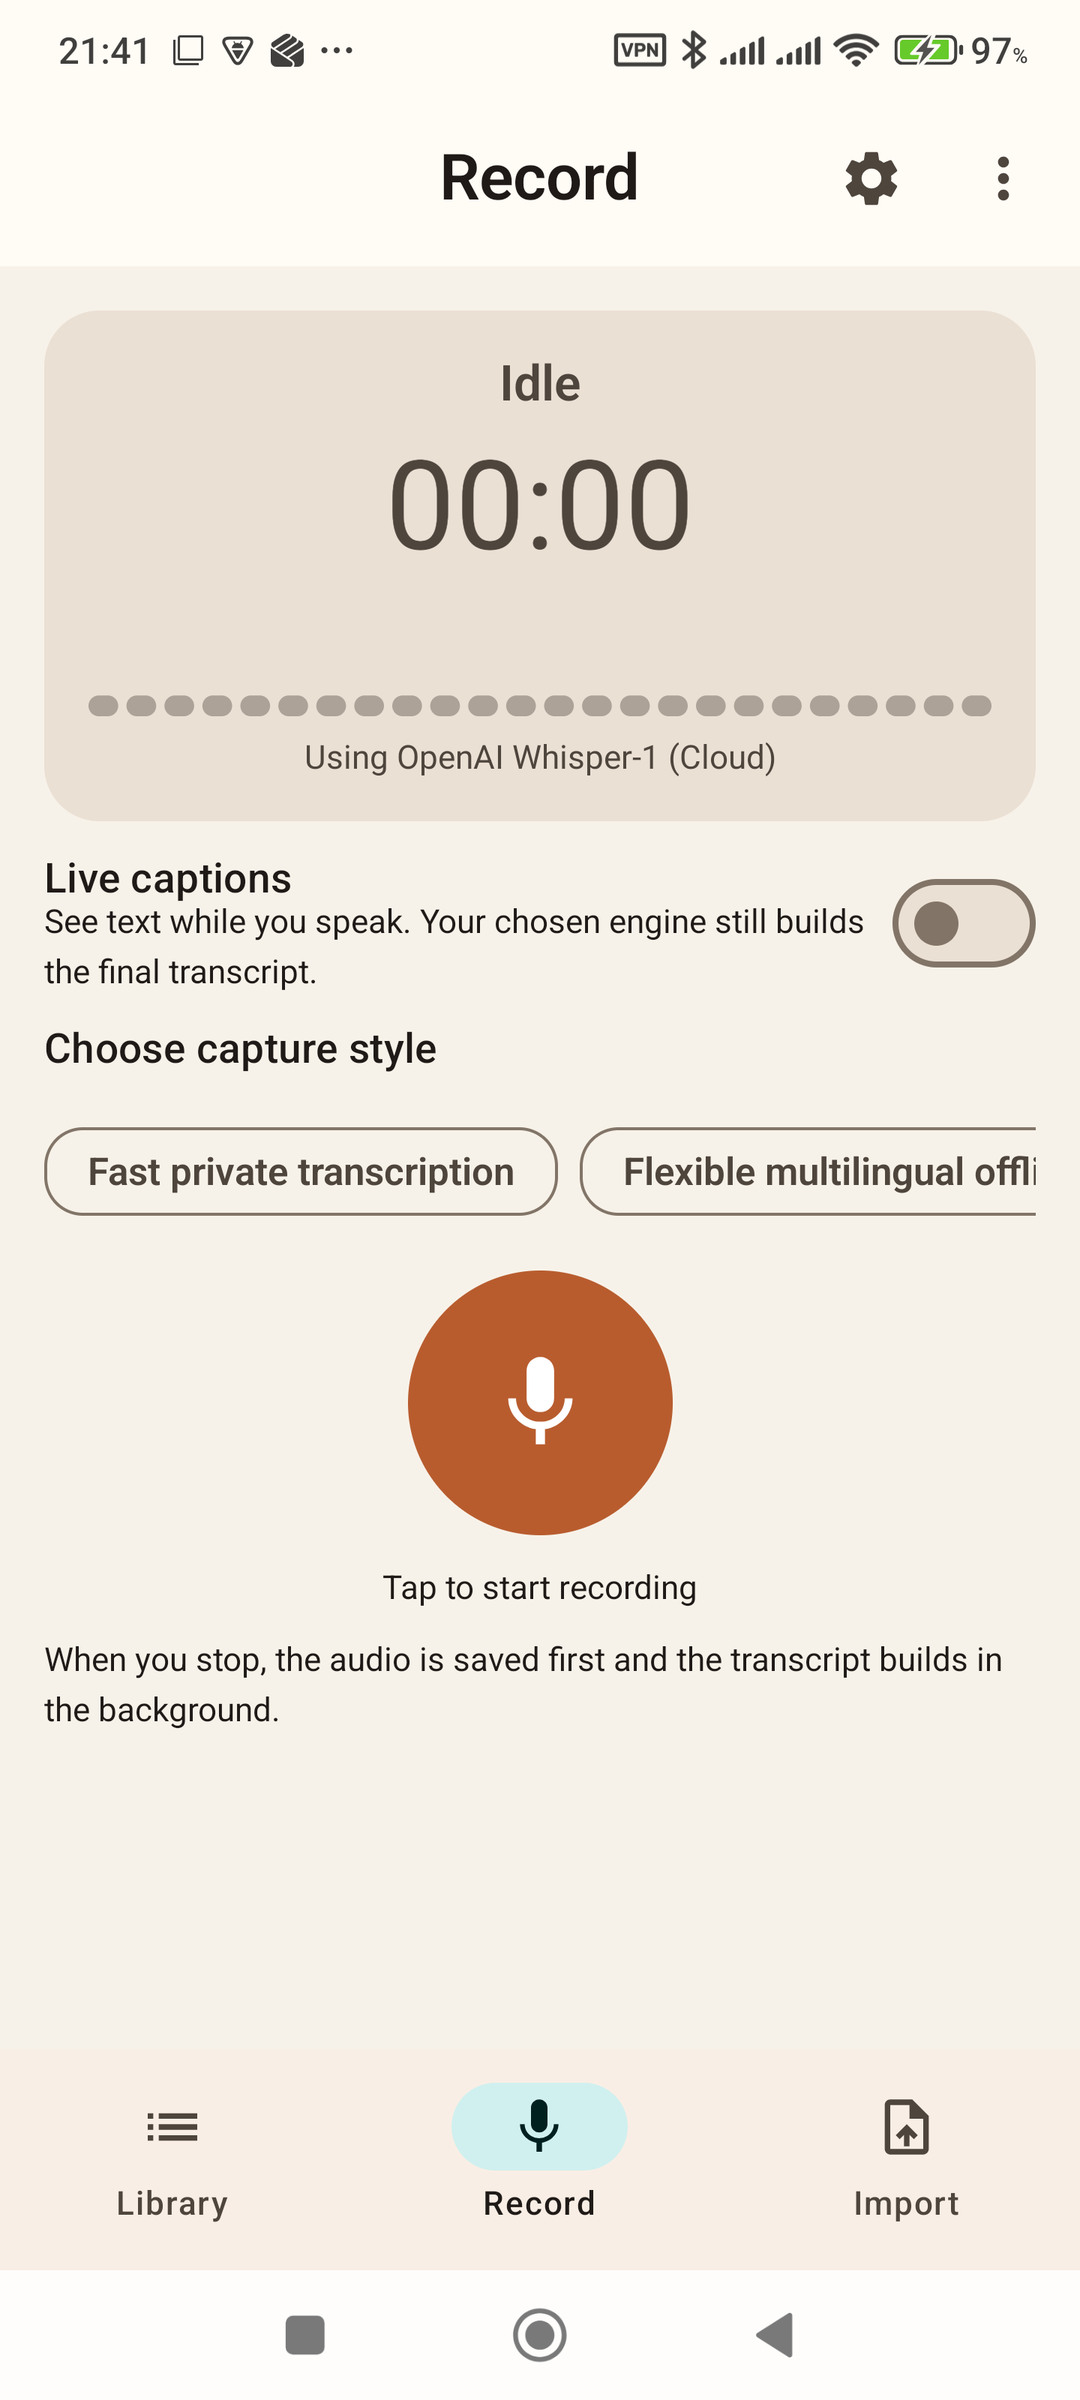
- Tap Record in the bottom bar.
- Under Choose capture style, pick the engine you want to use.
- Tap the large circular button to start recording. It pulses while recording.
- Use the Pause/Resume toggle if you need to break, and watch the live input level meter.
- Tap the circular button again to stop and transcribe. The app saves the audio and finishes the transcript in the background.
If you see a message that the selected engine is unavailable, open Settings or Engines & Models and check whether that model or API key still needs to be added.
Live Captions
Live captions show on-device text as you speak, so you can follow along while recording. The words still forming appear in a muted style until they settle. Your chosen engine continues to build the final, more accurate transcript.
- On the Record screen, turn on the Live captions switch before you start.
- If the switch is disabled, download the Vosk model in Engines & Models first — live captions run on Vosk.
- Start recording. Text appears in the Live captions card as you speak.
- When you stop, the live transcript is saved instantly. If your selected engine is not Vosk, it refines the transcript in the background and keeps the live draft if anything interrupts that.
Import Audio
- Tap Import in the bottom bar.
- Under Choose transcription style, pick the engine you want to use.
- Tap Choose Audio File and pick a file from Android's file picker.
- Progress appears in place on the same screen while the file transcribes.
- Tap View import history to open the Import Queue and inspect earlier jobs.
Imported files are transcribed in the background, so you can leave the screen and come back later from Library or Import Queue.
Use Local Models
The app supports four on-device engines: Moonshine, Sherpa-ONNX, Whisper local, and Vosk. Moonshine and Sherpa are the main built-in local options. Whisper and Vosk can be downloaded in-app when you want them.
Install or Download a Local Model
- Tap the top-right Settings icon.
- On Transcription Settings, tap Open Engines & Models.
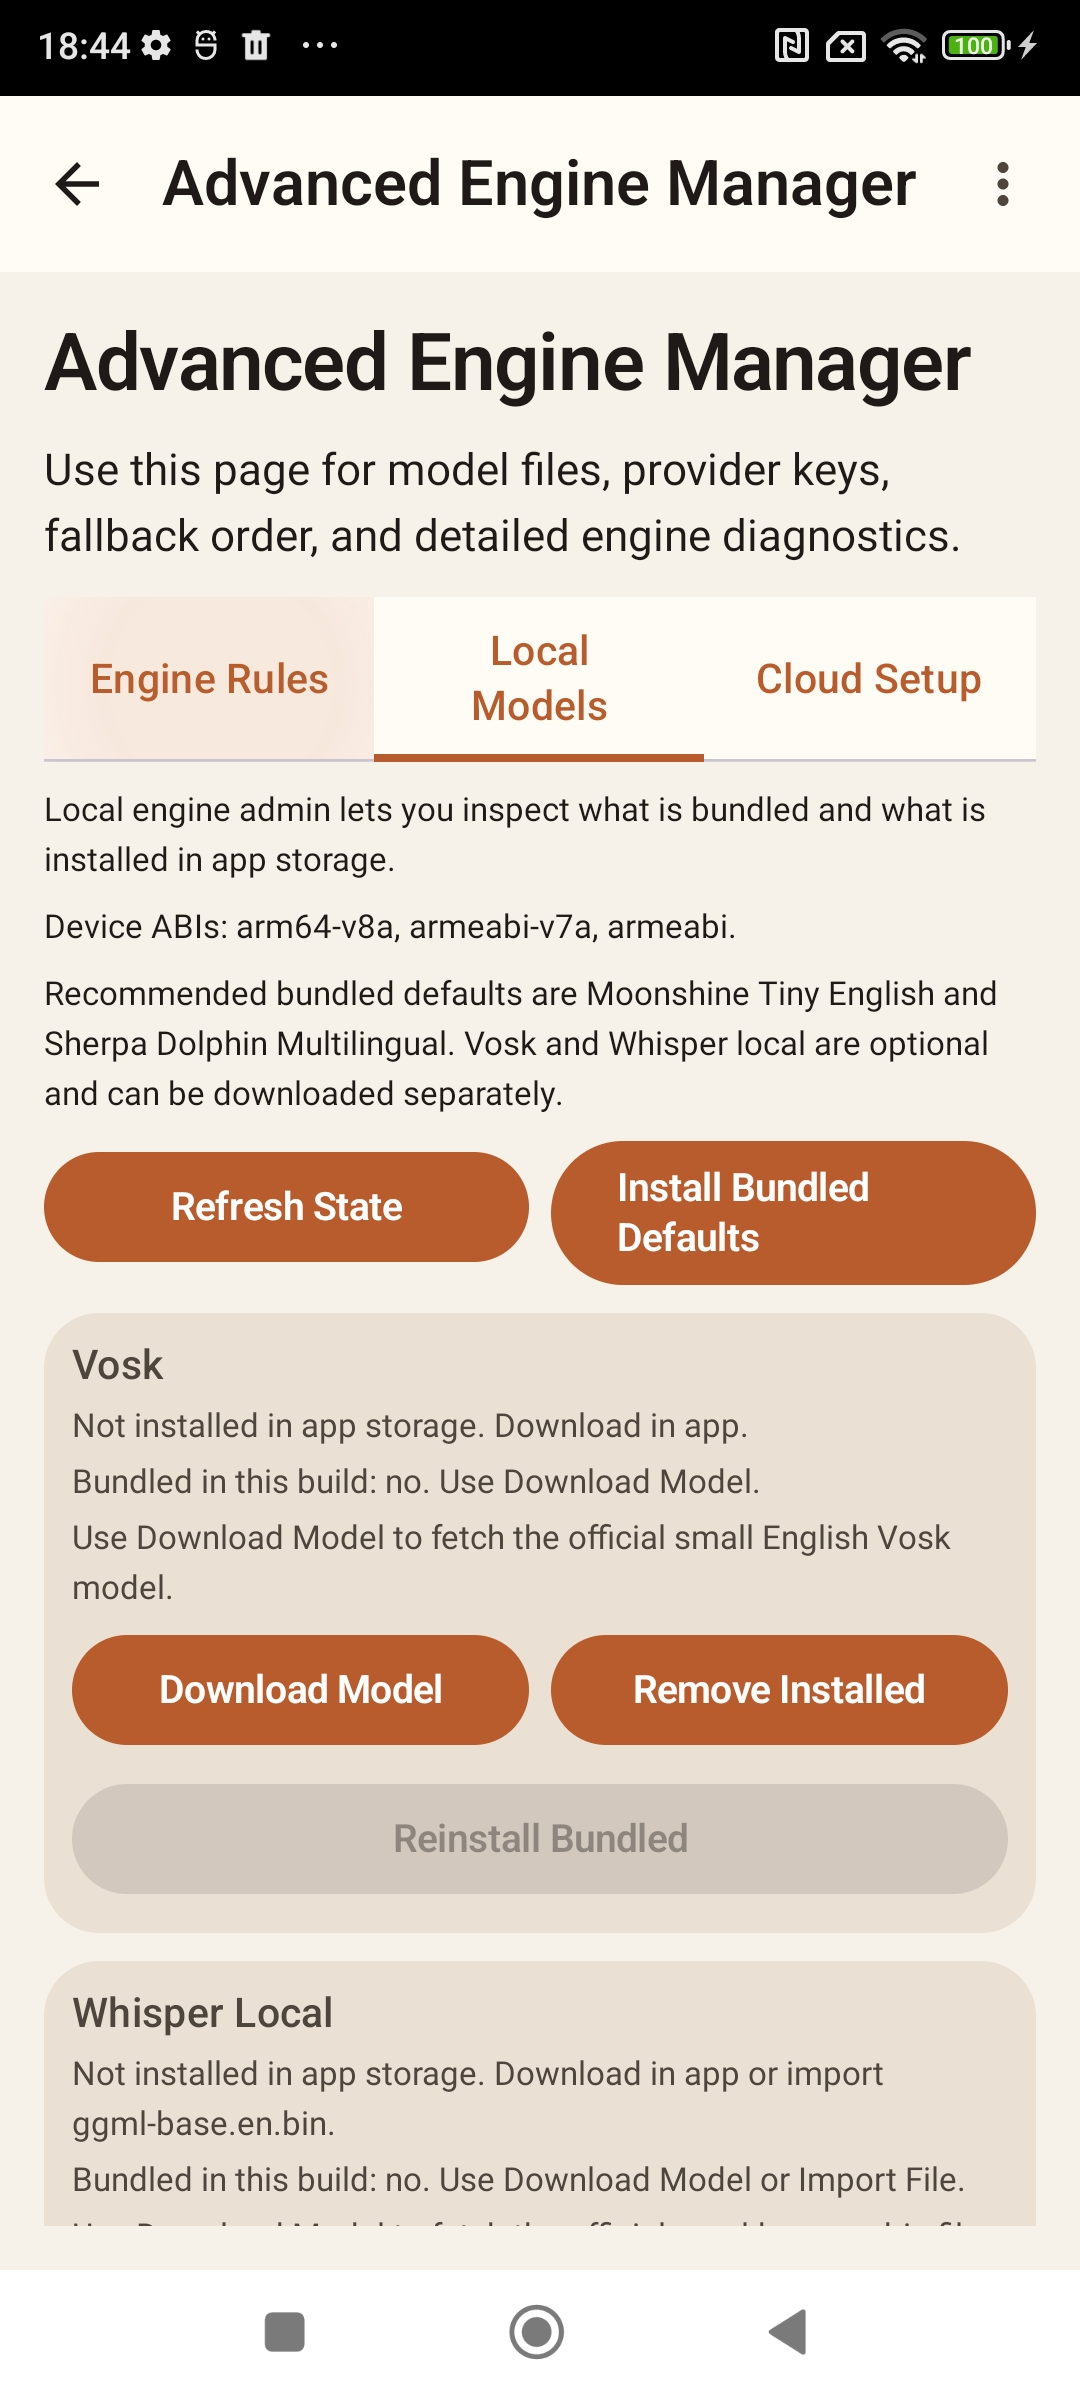
- Open the Local Models tab.
- Tap Install Bundled Defaults to install the included Moonshine and Sherpa models.
- For Vosk, tap Download Model (also required for live captions).
- For Whisper Local, tap Import File if you already have the model file.
- Use Remove Installed if you want to free up storage later.
Choose Which Local Engine Runs First
- Go back to Transcription Settings.
- Use Recommended mode if you want a simple preset.
- Or pick a specific Default engine.
- If needed, open Engines & Models and use the Engine Rules tab to change the fallback order.
Add OpenAI or Deepgram API Keys
Cloud engines are optional. You only need to set them up if you want OpenAI or Deepgram transcription.
- Tap the top-right Settings icon.
- Tap Open Engines & Models.
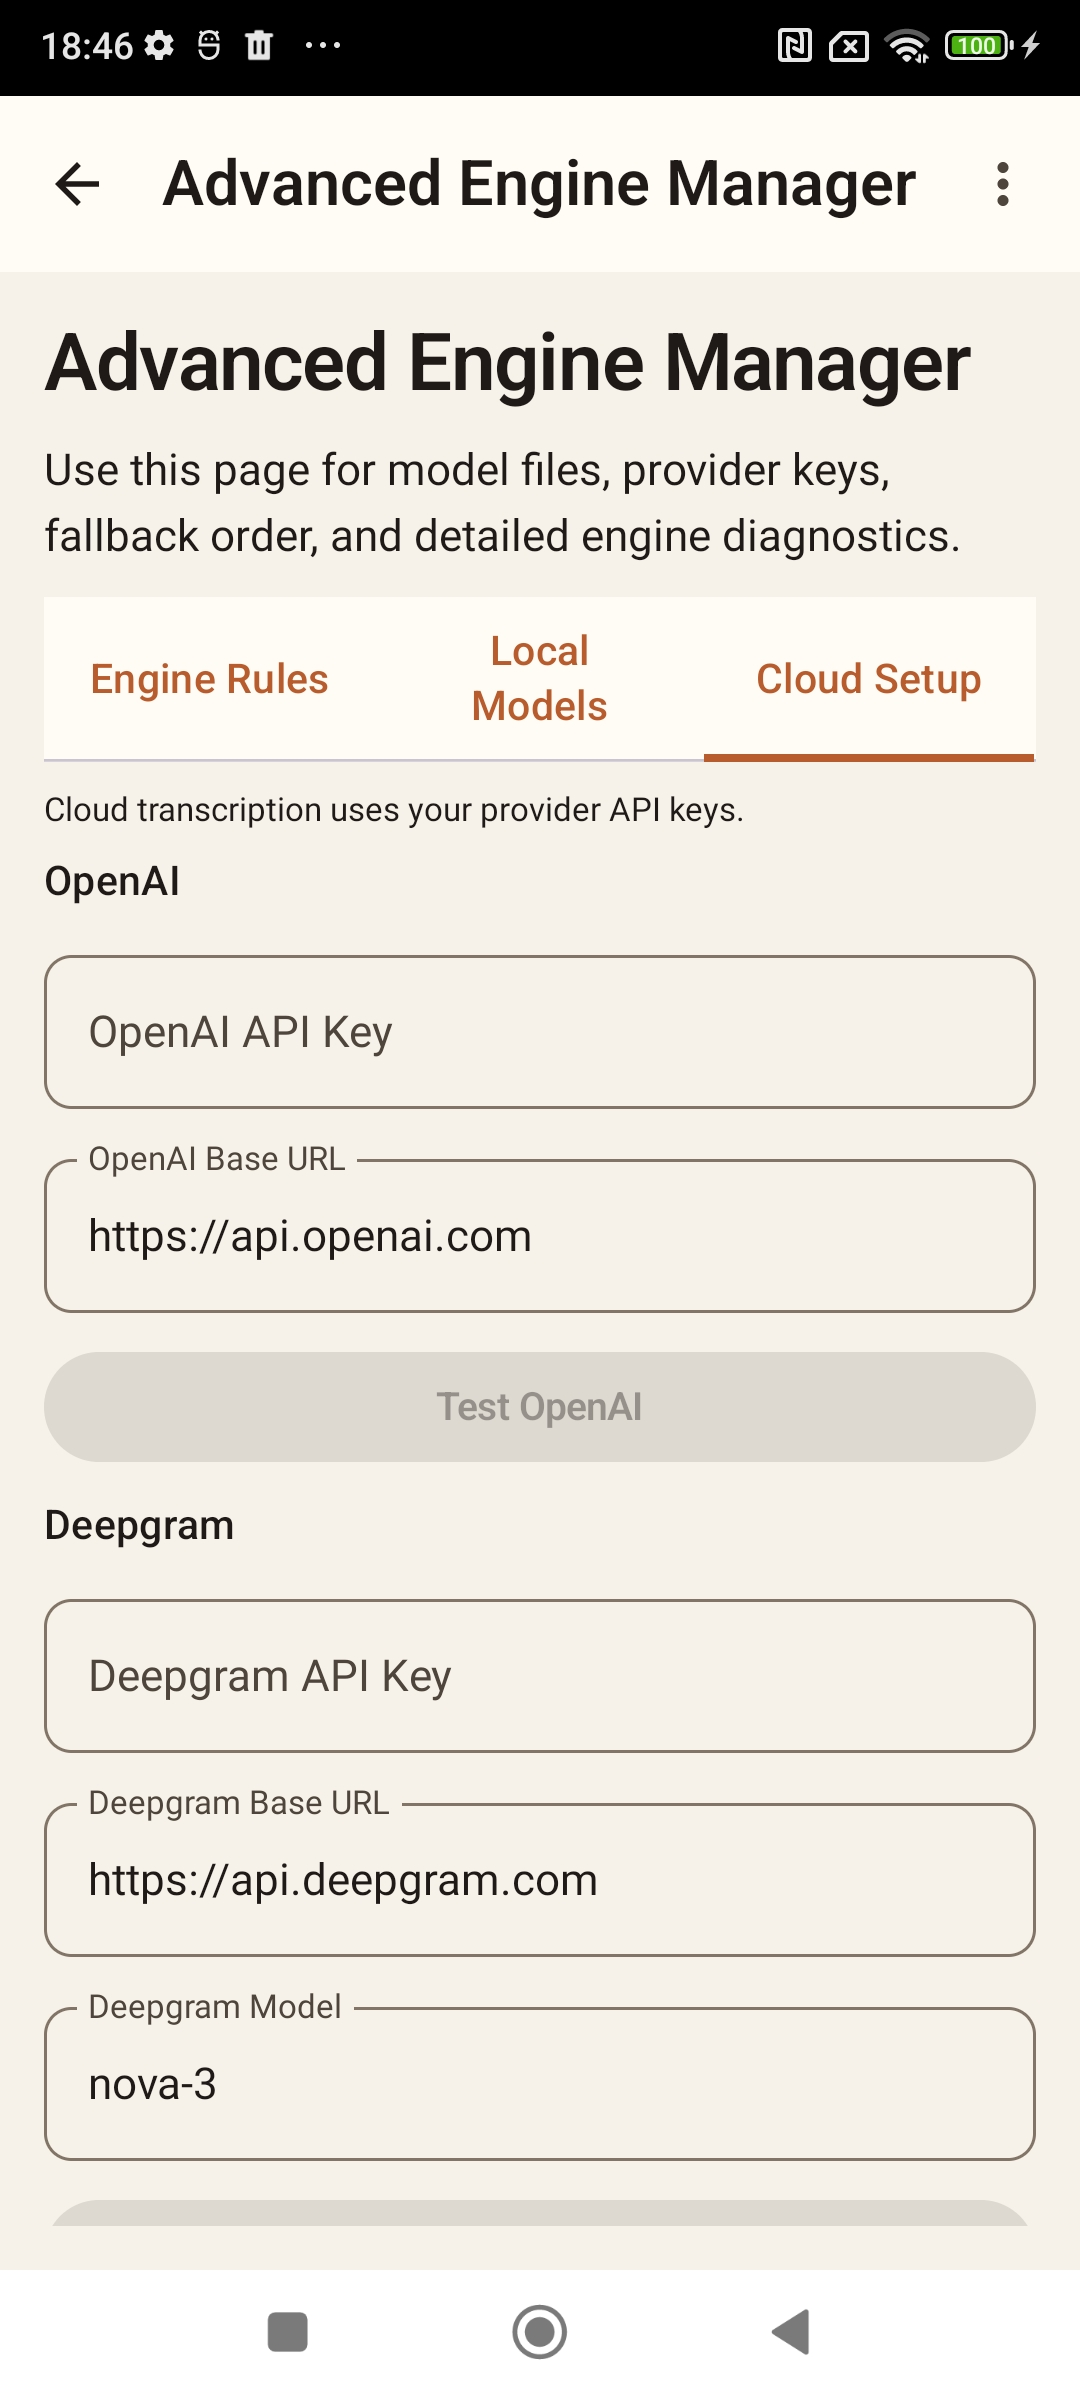
- Open the Cloud Setup tab.
- For OpenAI, enter your OpenAI API Key. Adjust OpenAI Base URL only if you intentionally use a compatible custom endpoint.
- Tap Test OpenAI.
- For Deepgram, enter Deepgram API Key, then review Deepgram Base URL and Deepgram Model.
- Tap Test Deepgram.
- Tap Save Settings before leaving the page.
Once a key is saved, the related cloud engines become selectable in Transcription Settings, Record, and Import.
Open, Search, and Edit Transcripts
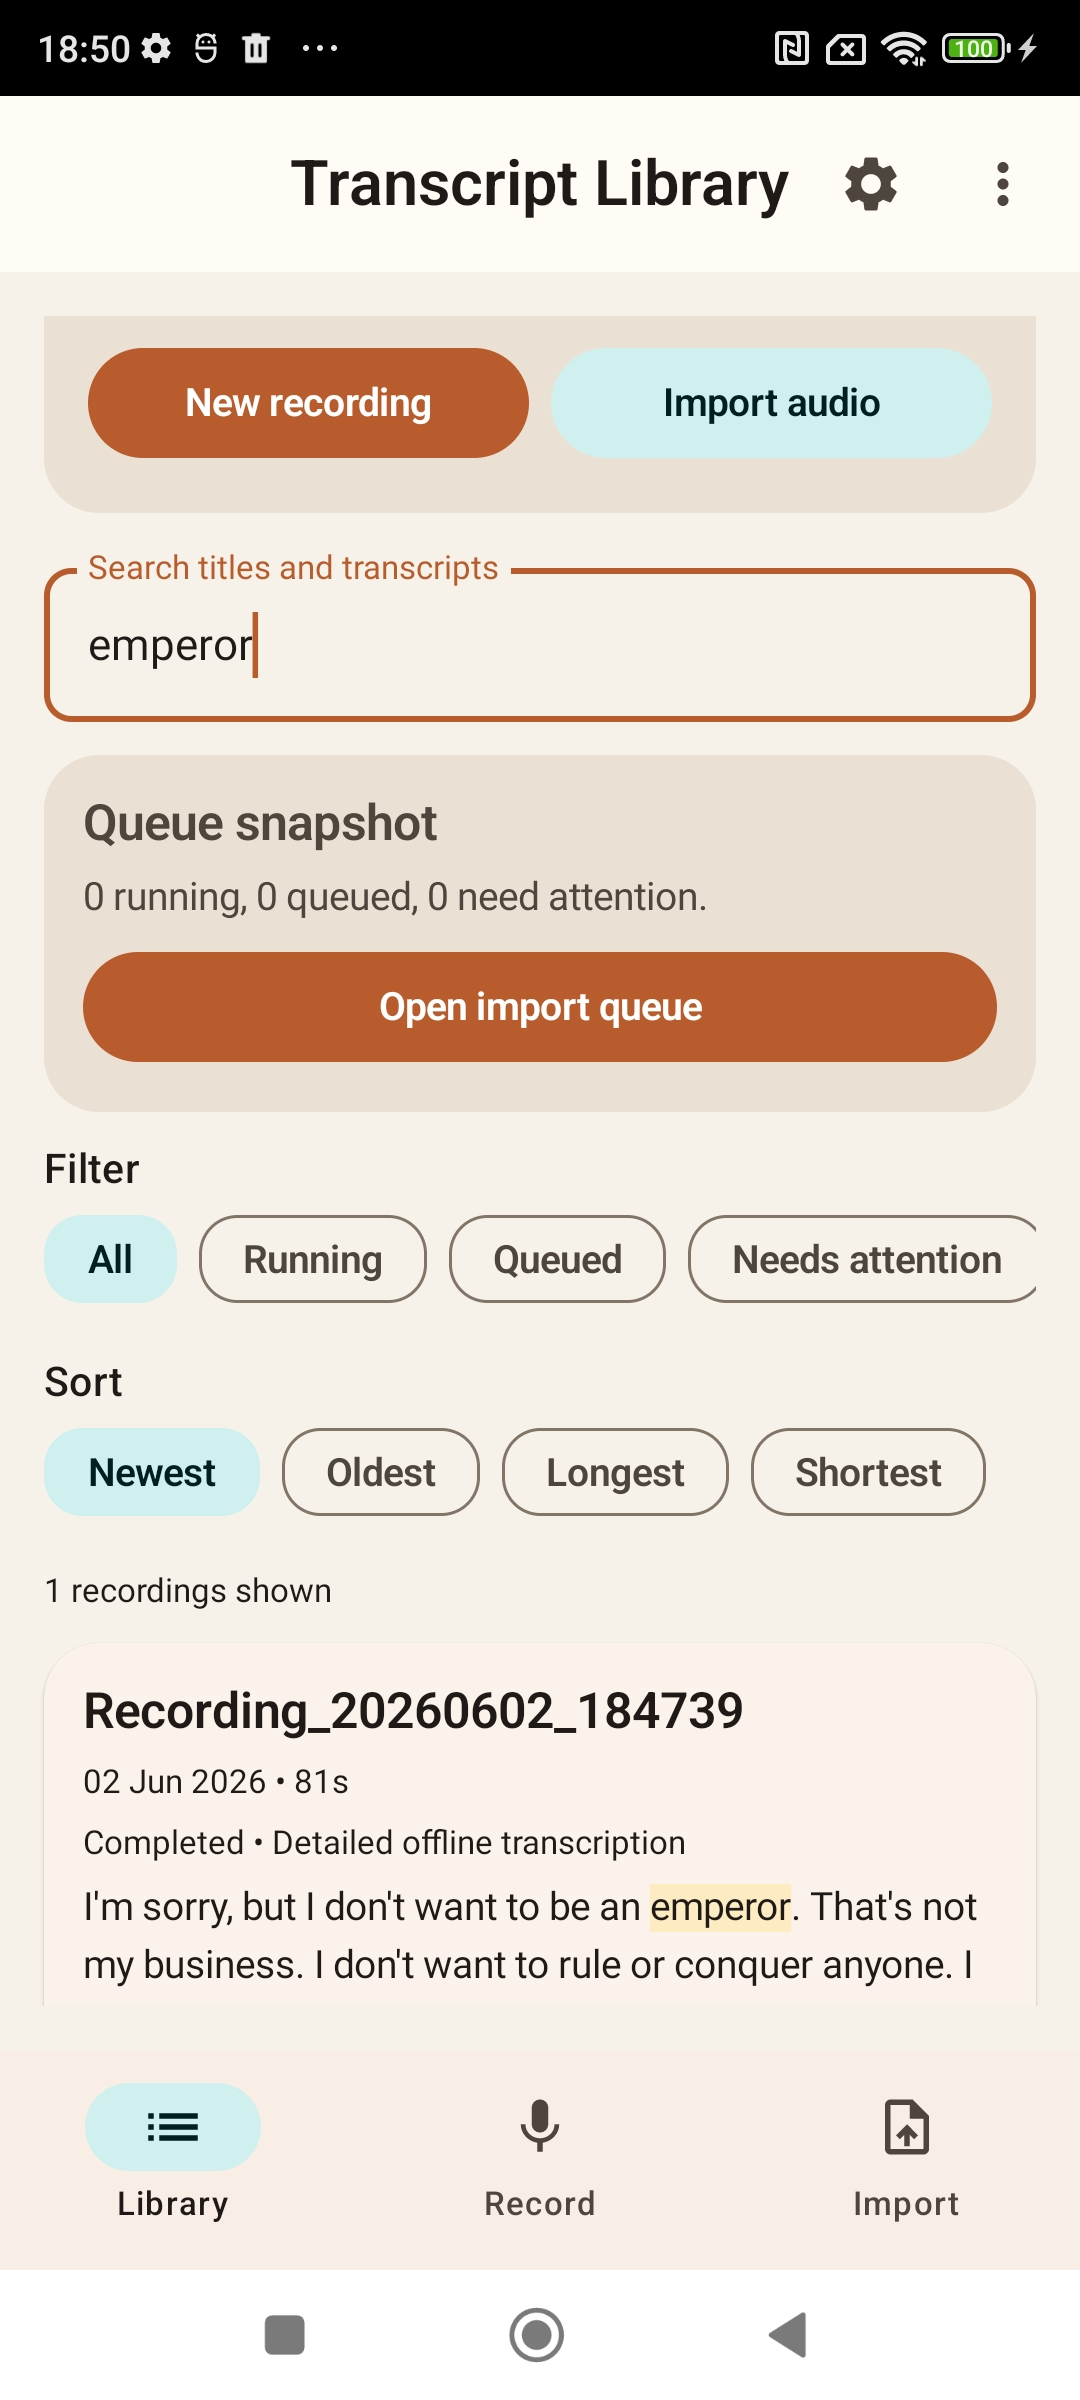
- Tap Library.
- Use Search titles and transcripts to find text inside old recordings.
- Use the Filter chips to show running, queued, failed, or completed jobs.
- Tap any recording card to open its detail screen.
- On the Transcript tab, edit the transcript directly and tap Save.
- Use the player at the bottom to scrub, play, pause, jump by 10 seconds, or change playback speed.
Use Time Ranges
- Open the Time Ranges tab inside a recording.
- Tap a time range to jump playback to that section.
- Choose an engine if you want to retry just one section.
- Tap Refresh Time Range to retranscribe only that selected segment.
- Tap Save Segment Edit if you manually corrected the text.
Retrieve and Export Transcripts
Every completed recording or imported job lands in Library. To retrieve a transcript later, open the item from the library and use its transcript or export actions.
- Open the recording from Library.
- Stay on the Transcript tab.
- Tap More Actions.
- Choose one of the export options.
Export Text
Plain text transcript.
Export With Timestamps
Transcript with each time range written into the text file.
Export PDF
Portable transcript document.
Export DOCX
Editable Word-compatible file.
Export Audio Copy
A saved copy of the original audio file.
After choosing an export type, Android will ask where you want to save the file. Pick a folder or cloud drive destination, then confirm the filename.
Troubleshooting
An engine is visible but greyed out
The model or API key is probably missing. Open Engines & Models and check the reason shown under that engine or model.
A cloud engine keeps failing
Open Transcription Settings and turn on Fall back to on-device if cloud fails if you want the app to finish with a local engine when possible.
I only want private on-device transcription
Choose Private first in Transcription Settings and install the local models you want to use.
I cannot find an older transcript
Go to Library, use search, then adjust filters back to All if needed.